Kubernetes Clusters
Scalable container orchestration for production workloads.
Overview
The Kubernetes Cluster service automates container scheduling, scaling, networking, and service discovery. Each cluster includes control plane components and worker nodes. Supports public and private clusters, auto-scaling, persistent storage, load balancing, and monitoring.
Prerequisites
- Cloud console or CLI access
- Virtual network/subnet configured
- (Optional) SSH access for debugging worker nodes
- Container images in accessible registry
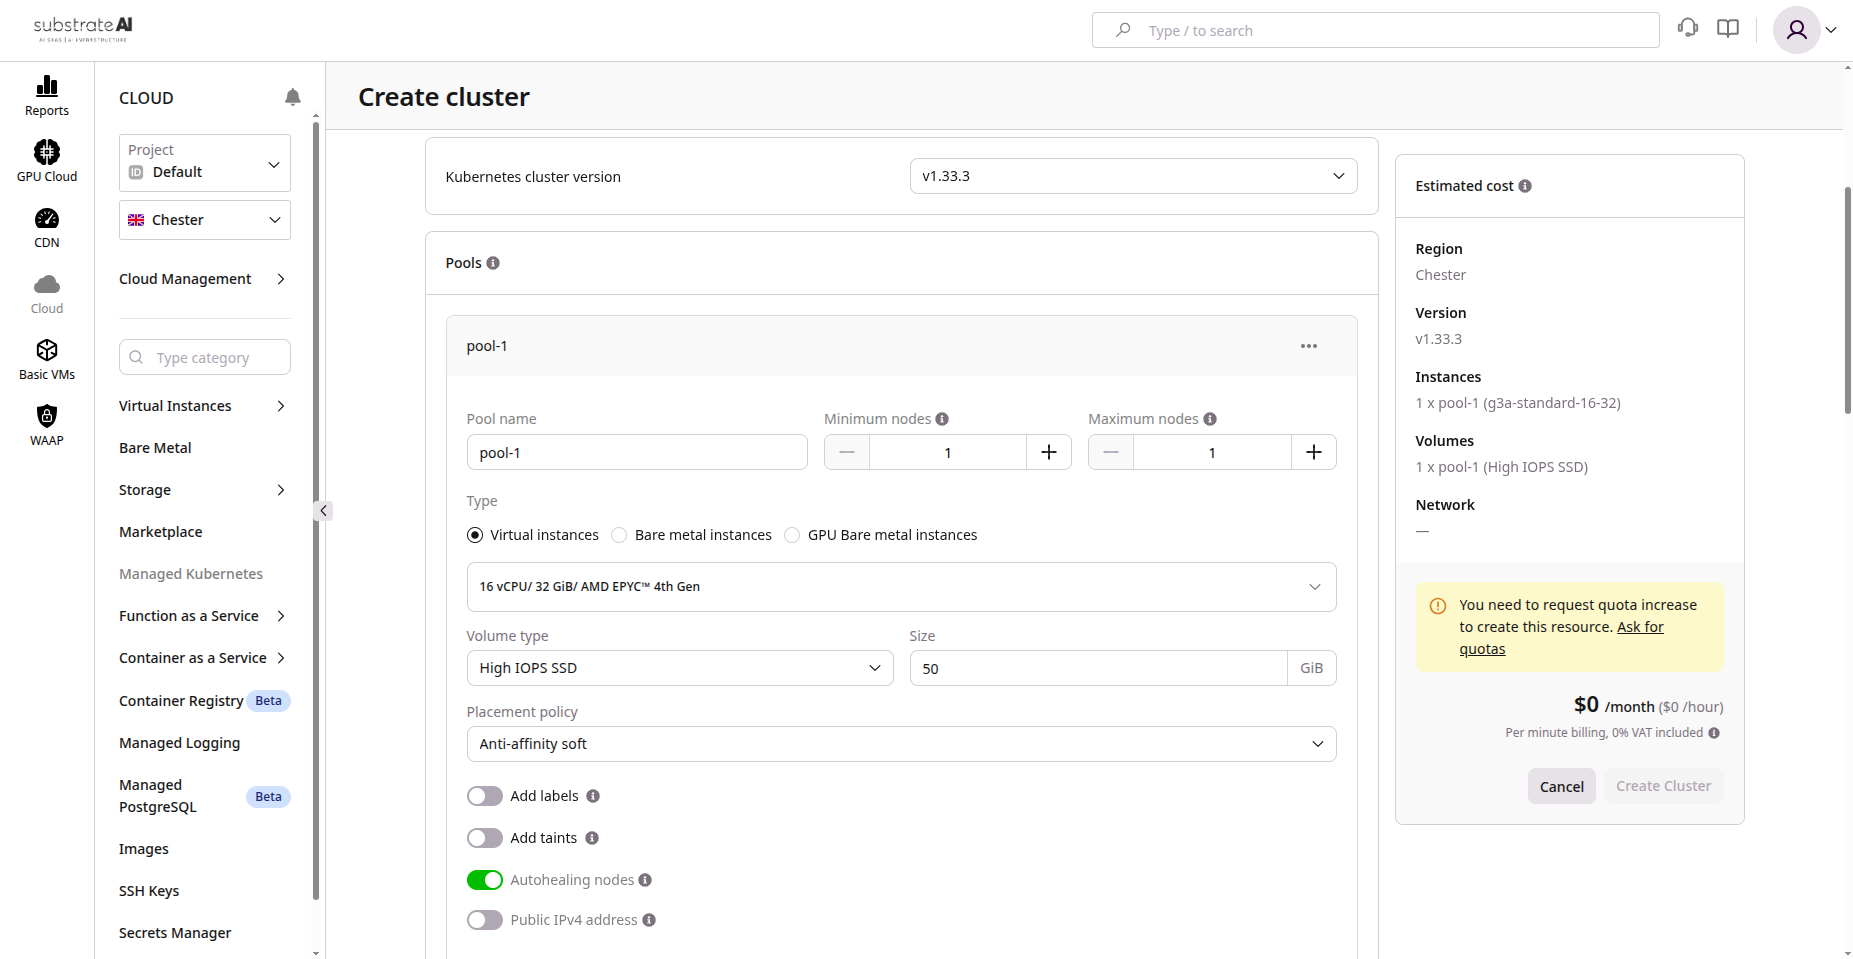
Step 1: Create Cluster
- Go to Kubernetes > Clusters
- Click Create Cluster
- Configure:
| Setting | Description |
|---|---|
| Cluster name | e.g., prod-cluster-01 |
| Region/Zone | Deployment location |
| Kubernetes version | Select version |
| Network/Subnet | Pod and service communication |
-
Choose cluster type:
- Public: Accessible via public endpoint
- Private: Internal network or VPN only
-
Configure node pool:
- Instance type and size
- Node count (min/max for auto-scaling)
-
Click Create Cluster
Provisioning takes several minutes.
Step 2: Configure Node Pools
- Navigate to Node Pools within your cluster
- Add pools for different workloads (general, GPU, memory-optimized)
- Enable auto-scaling based on resource utilization
- Set taints and labels for pod scheduling control
Step 3: Connect to Cluster
- Download kubeconfig from dashboard
- Set config as active:
export KUBECONFIG=~/Downloads/kubeconfig.yaml
kubectl get nodes
Worker nodes should show Ready state.
Step 4: Deploy Application
kubectl create deployment webapp --image=nginx:latest
kubectl expose deployment webapp --port=80 --type=LoadBalancer
This creates a Deployment managing NGINX pods and a Service exposing them via external load balancer.
Step 5: Configure Networking
| Component | Description |
|---|---|
| Service Types | ClusterIP, NodePort, LoadBalancer |
| Ingress Controller | NGINX or Traefik for HTTP routing |
| Network Policies | Control pod-to-pod communication |
| Private Networking | Internal subnets and load balancers |
Step 6: Add Persistent Storage
- Go to Storage > Volumes or use PVCs
- Create PersistentVolumeClaim:
apiVersion: v1
kind: PersistentVolumeClaim
metadata:
  name: app-data
spec:
  accessModes:
    - ReadWriteOnce
  resources:
    requests:
      storage: 20Gi
- Mount PVC in Pod spec for persistent data
Step 7: Monitoring and Logs
- View CPU, memory, pod status in metrics dashboard
- Stream pod logs:
kubectl logs <pod-name>
- Configure autoscaling:
- HPA: Horizontal Pod Autoscaler for load-based scaling
- Cluster Autoscaler: Node-level scaling
Step 8: Updates and Maintenance
- Upgrade Kubernetes from dashboard (control plane first, then nodes)
- Rotate credentials and API tokens periodically
- Use rolling updates:
kubectl rollout status deployment/webapp
- Backup manifests and secrets regularly
Features Summary
| Feature | Description |
|---|---|
| Managed Control Plane | HA Kubernetes API servers and etcd |
| Node Pools | Worker groups with specific instance types |
| Auto-Scaling | Dynamic node adjustment |
| Public/Private | Choose security and exposure level |
| Load Balancing | Built-in L4/L7 load balancers |
| Persistent Storage | Block and file storage |
| Network Policies | Fine-grained traffic control |
| Monitoring | Resource metrics and alerting |
| Upgrades | Seamless version upgrades |
| RBAC | Role-based access control |
Troubleshooting
| Issue | Cause | Solution |
|---|---|---|
| Pods stuck in Pending | No nodes or quota exceeded | Scale up node pool |
| kubectl timeout | API unreachable | Check endpoint and kubeconfig |
| LoadBalancer not provisioned | No public IP pool | Allocate IPs or contact admin |
| Volume mount fails | PVC not bound | Verify PVC and storage class |
| Autoscaling not triggering | Metrics missing | Install metrics server |